How to install nano on a Synology NAS
This article will walk you through how to install the nano editor on your Synology NAS for editing files within the SSH terminal.
I'm not a fan of the default editor (vim, *shudder*) that comes with the SSH terminal of the Synology NAS, nano is far more user friendly and I need to get my hands on that. Normally I would just do sudo apt install nano on my Ubuntu devices, but Synology isn't Ubuntu, so I can't do that.
Nano can't be installed natively within the terminal (that I know of...), but, luckily, there is a solution for that. SynoCommunity.com offers community packages that can be installed on your NAS, such as Git, HomeAsistant, and various useful command-line tools like nano.
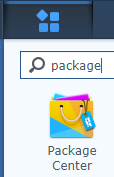
1. Log in to your NAS, go to Main Menu --> Package Center --> Settings.
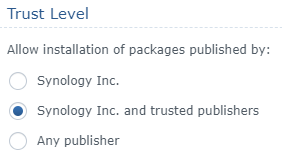
2. In the Settings window, select Synology Inc. and trusted publishers under the Trust Level.
3. In the Package Sources tab, click Add, type in a relevant name and enter the location as http://packages.synocommunity.com. Click OK.

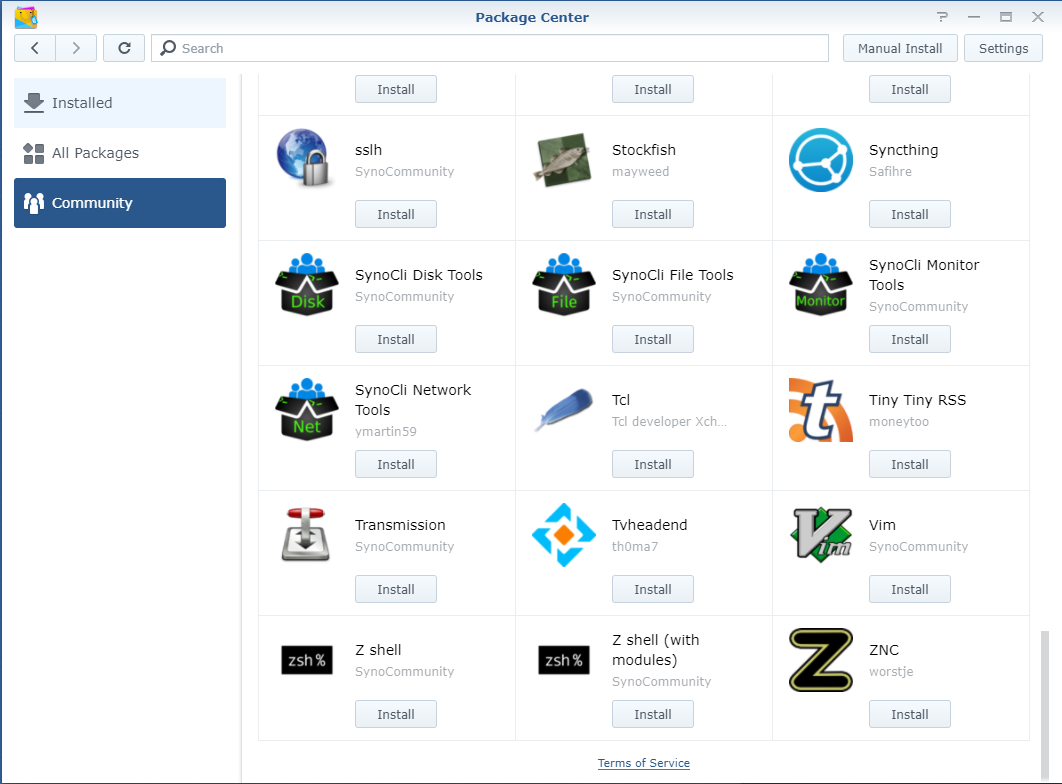
5. If you go to the Community tab now within the Package Center, you will see a plethora of new packages that you can install. The one you want is the SynoCli File Tools - click Install underneath it.
(Note: this package also provides a bunch of other useful command-line utilities, including less, tree, ncdu, jdupes, detox, lzip, micro, etc. etc...)
And you're done! Simple as that.
You can now use the nano editor within the SSH terminal of your Synology NAS.

