Creating an Ubuntu Server VM on Synology NAS
A step by step guide to creating an Ubuntu Server virtual machine on a Synology NAS.
1) Download the ISO
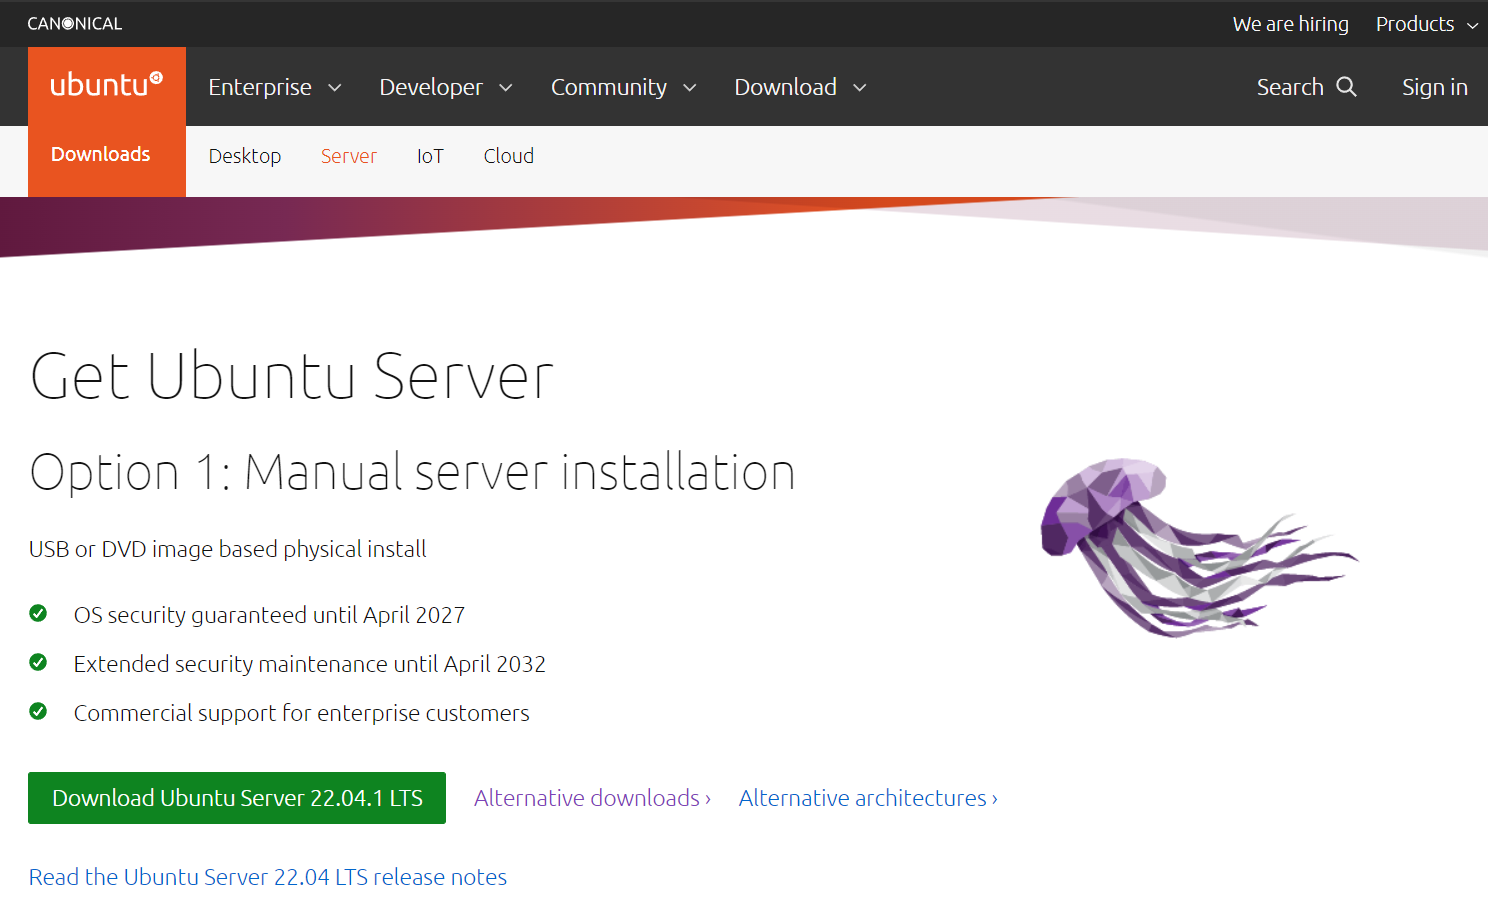
To begin, let's download the relevant Ubuntu Server ISO file from the official Ubuntu website: https://ubuntu.com/download/server.
Download it to your desktop or use the built in download manager within Synology DSM.
2) Install Virtual Machine Manager
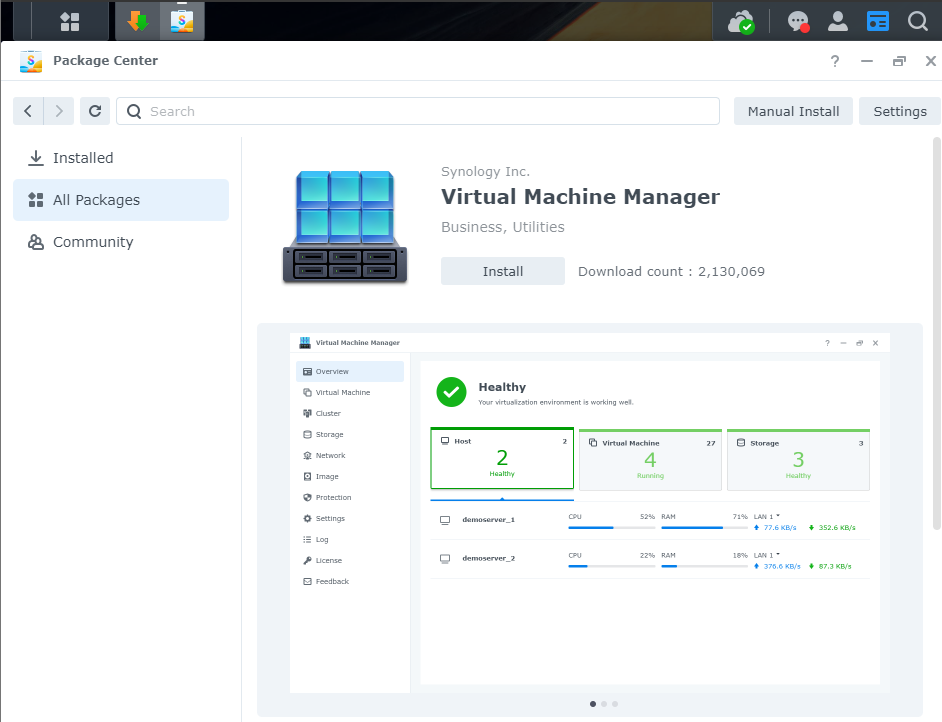
While that's downloading, log on to your NAS and open up Package Center, then search for Virtual Machine Manager (VMM) and click Install.
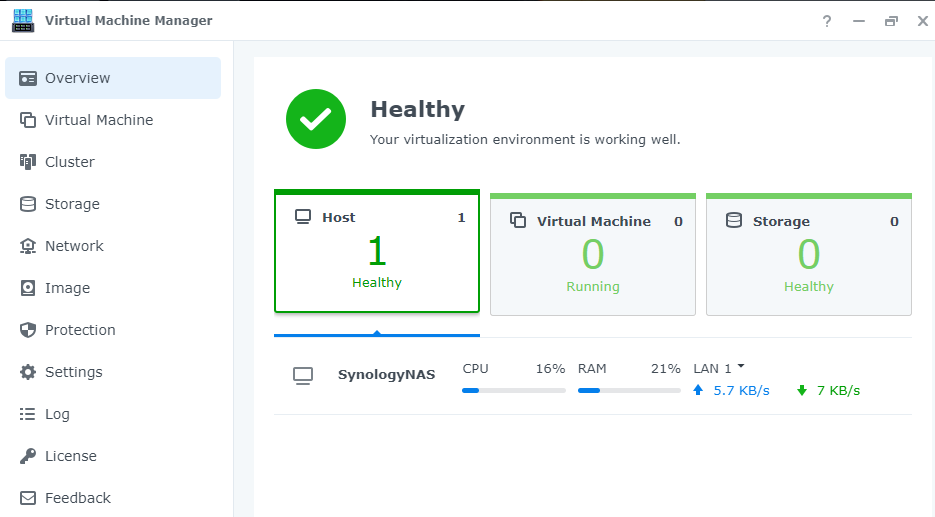
Now open up VMM and go through the initial setup wizard, once done you'll be greeted with a window that looks very much like the screenshot above.
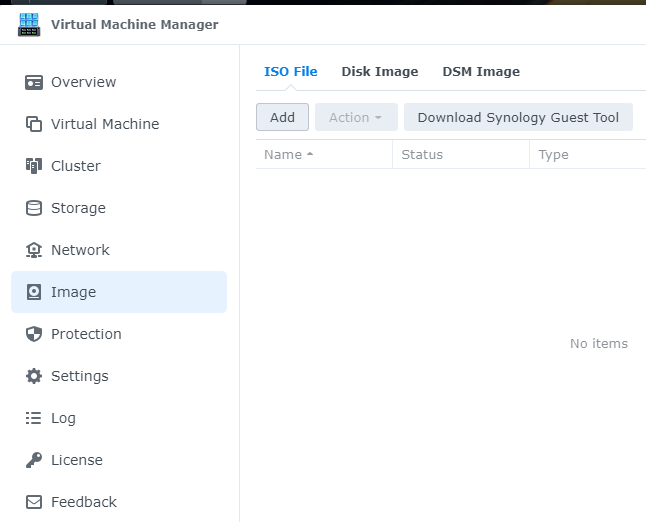
3) Create an Ubuntu image
Go to the Image tab and click on Add:
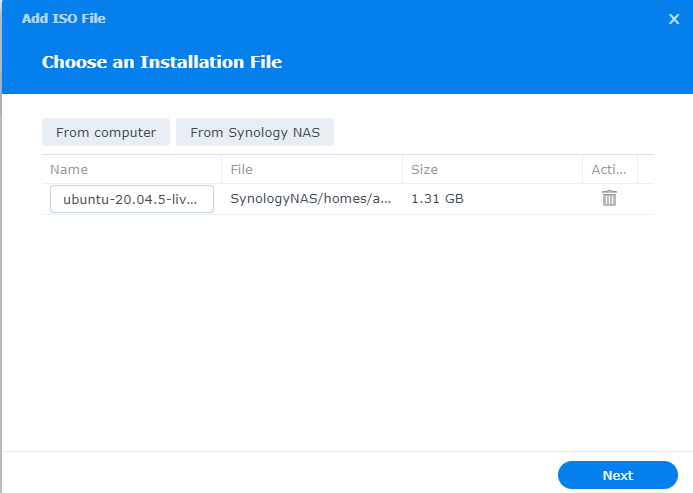
Depending on how you downloaded the Ubuntu ISO file, click either From computer or From Synology NAS, and then select the file.
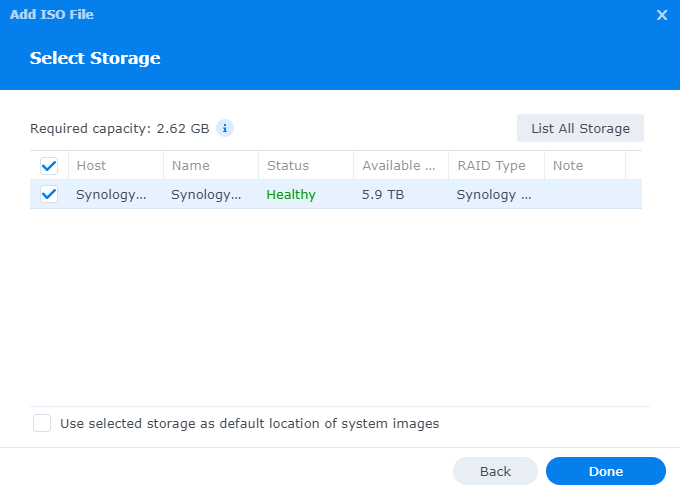
Next, select the storage medium for your Virtual Machine and this step is complete.
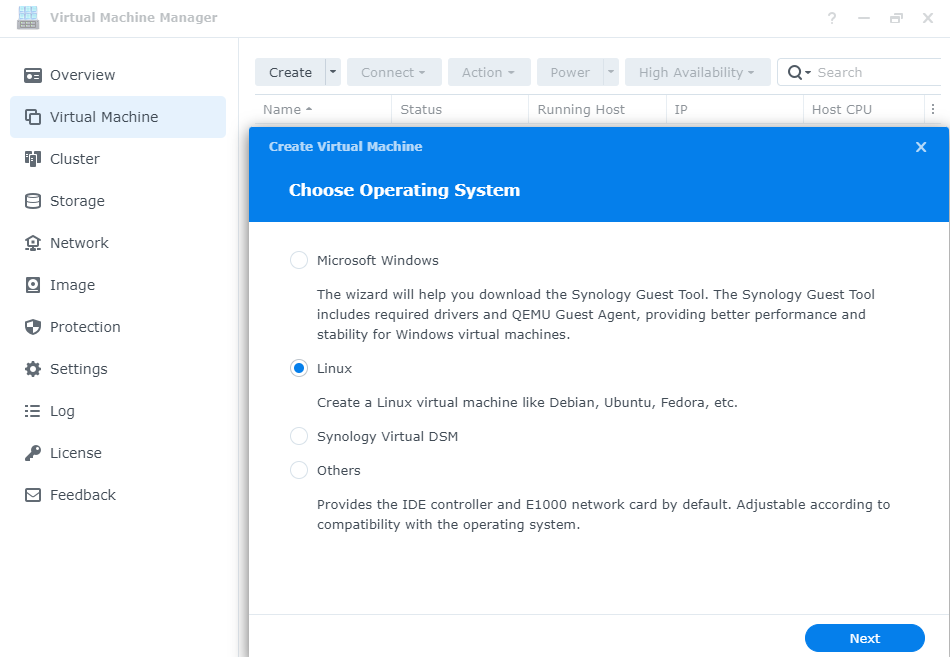
4) Create the Ubuntu Virtual Machine
Now go to the Virtual Machine tab and click Create
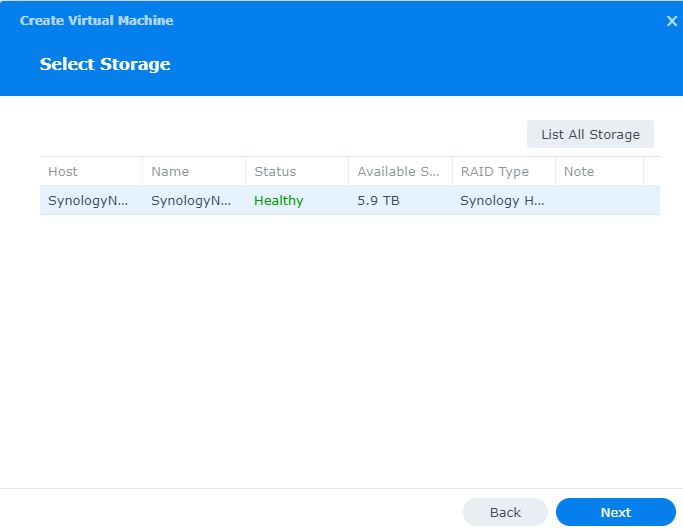
Select the relevant storage for your VM:
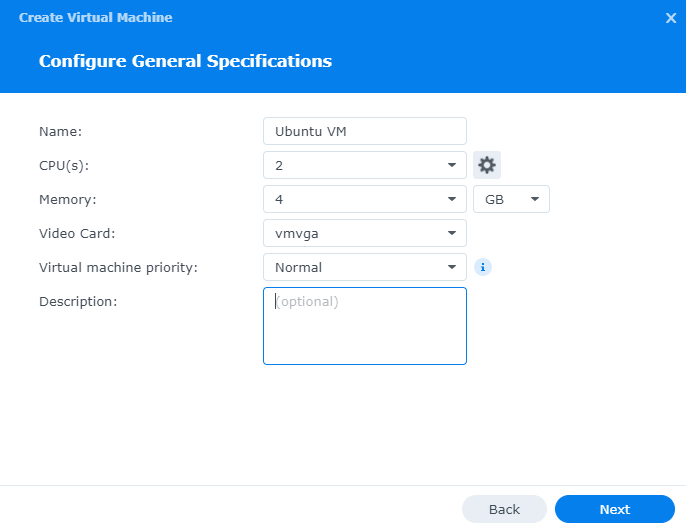
Enter the relevant info for your VM (I gave mine 2 CPU and 4GB RAM, generally enough for most VMs)
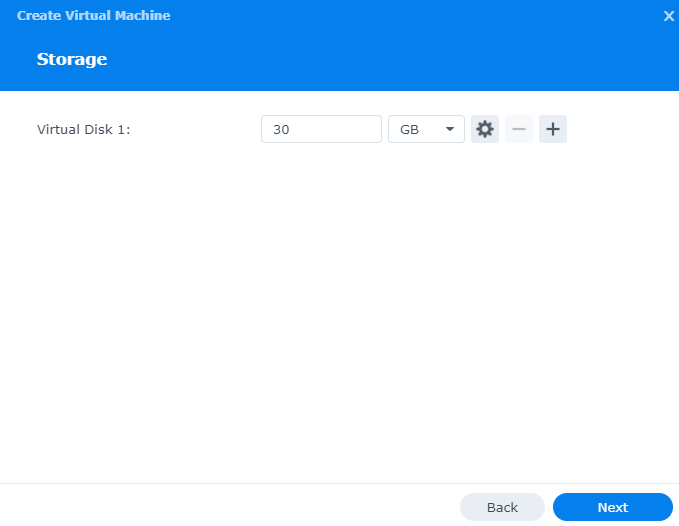
Give it as much Disk Space as you think you'll need
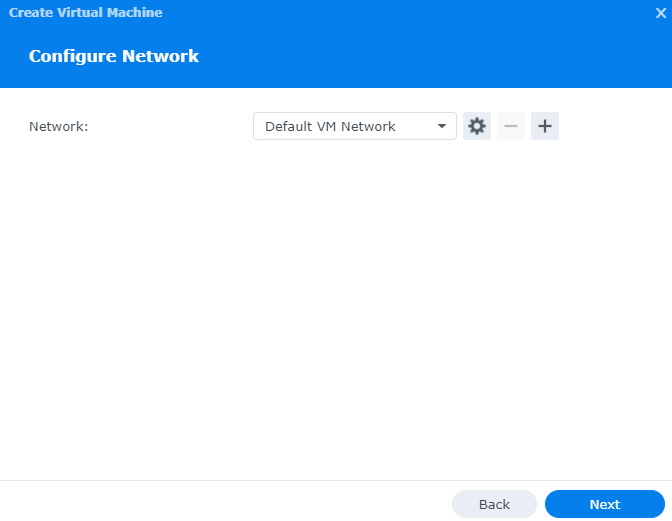
Select a network
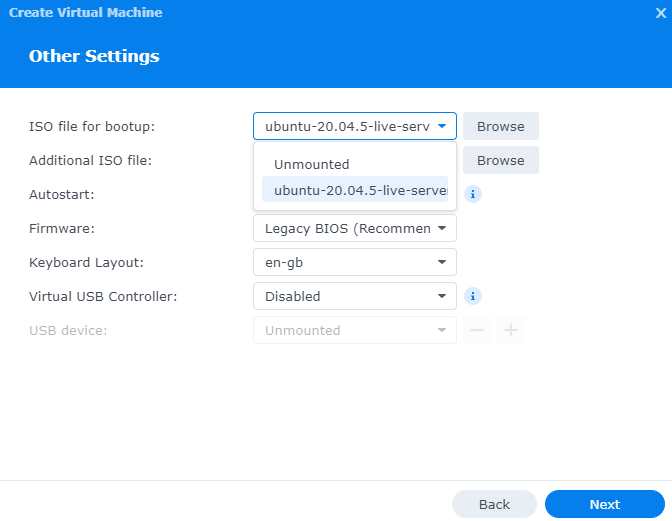
On the next window, select the image that we created earlier in the "ISO file for bootup" field. The rest can be left as default.
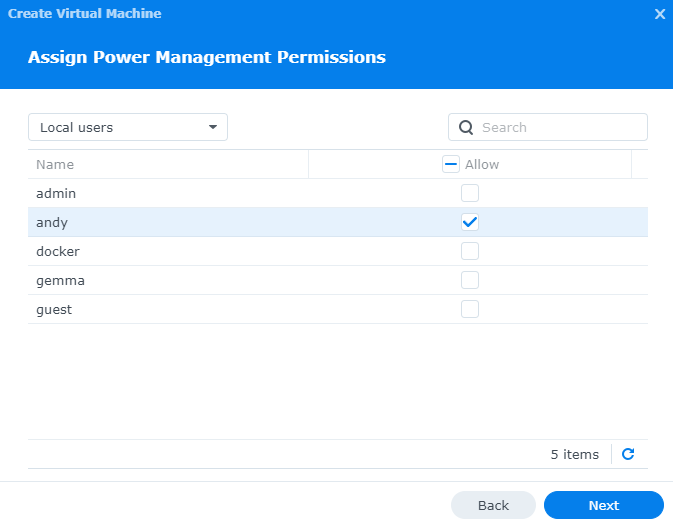
User permissions for power management - select the users that will need to be able to power on / off your virtual machine:
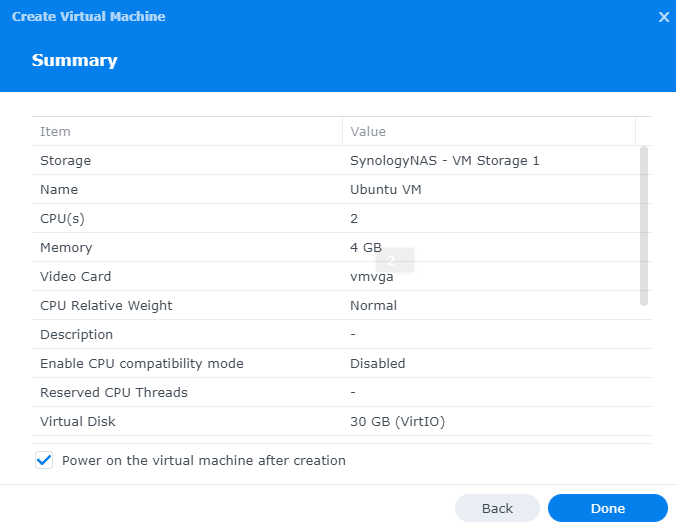
On the final page, make sure to tick "Power on the virtual machine after creation".
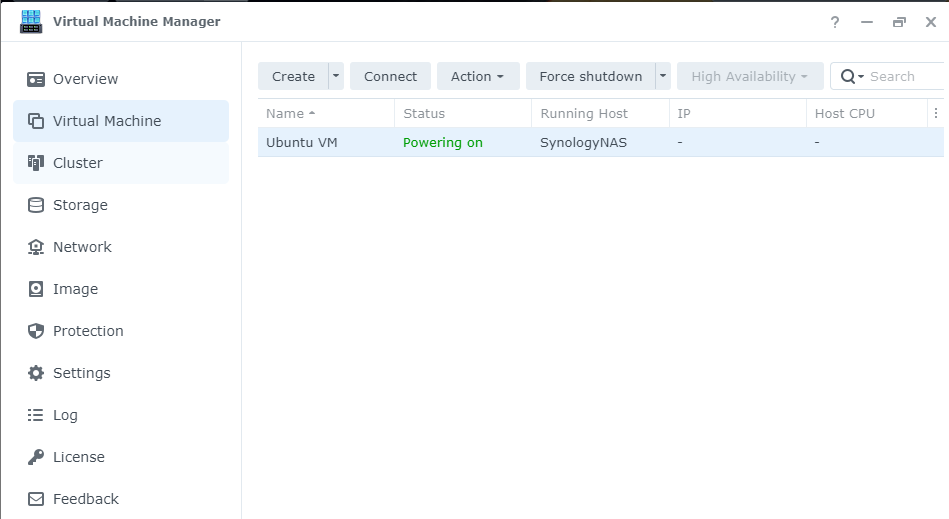
Your Ubuntu Virtual Machine should now be powering on
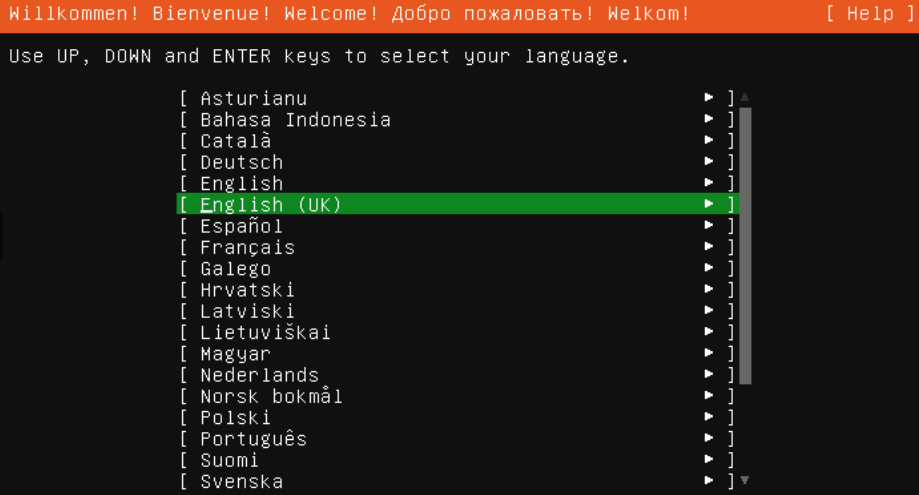
5) Initial bootup
Click on Connect within the Virtual Machine Manager and a new window will open up.
You can now access the Virtual Machine and go through the usual installation steps.
If you have followed this guide previously to setup all your SSH keys within Github, then during the VM installation you have the option to bring in all these keys to enable access via SSH with keys only.
It's recommended that you install the Synology Guest Tool after your VM has been setup, read more about it here: https://kb.synology.com/en-global/DSM/tutorial/How_to_install_Synology_Guest_Agent_for_VMM_on_your_virtual_machine